Quick Start Guide
This article will guide you through the process of installing Chyrp Lite on your web server, logging in to your blog for the first time and making your first blog post. We'll be installing Chyrp Lite on the classic LAMP environment - Linux, Apache, MySQL, PHP.
Building Your Blog
Download the latest stable release of Chyrp Lite. Once the download is complete, expand the ZIP archive. You'll find a new folder named chyrp-lite-[version] on your computer. Before we proceed, open the folder and read the file README.md (it is a plain text file) to ensure you understand the software licence and that your web server meets the minimum requirements for Chyrp Lite.
Upload the Files
Chyrp Lite can be installed in your server's document root directory or in a subdirectory of your choice. The document root is the directory containing the HTML file your server will display if a visitor types [your domain] into the address bar of a web browser. We'll be installing Chyrp Lite in a subdirectory named chyrp.
- Create a chyrp directory in your web server's document root directory.
- Upload the contents of the chyrp-lite-[version] folder to the chyrp directory.
- Delete the tools folder from your server – you won't need it to run your blog.
Create a Database
Chyrp Lite stores your blog posts in a database. Before we set up Chyrp Lite we need to create a database on the server. For this guide, we'll be creating a MySQL database. We will also create a new database user. A username and password is required for anyone wishing to access the database, and these credentials are distinct from any other usernames and passwords you might use to access your web server or to log in to Chyrp Lite.
The process of creating a new database is different depending on your administration environment, so you will need to read the appropriate documentation to learn the exact steps. Two common environments are CPanel and phpMyAdmin. These are the actions you need to perform:
- Create a new MySQL database and make a note of the name you give it.
- Add a user to your new database, and note the username and password.
If you prefer to use SQLite instead of MySQL, you don't need to prepare anything in advance. In the installer, simply change the database adapter type and then enter the filesystem path and name where you would like the SQLite database file to be stored on your server; it will be created automatically during installation.
Install Chyrp Lite
Open your favourite desktop or mobile web browser. In your browser's address bar, go to the URL [your domain]/chyrp/install.php to get started. You'll be greeted with Chyrp Lite's super simple installer:
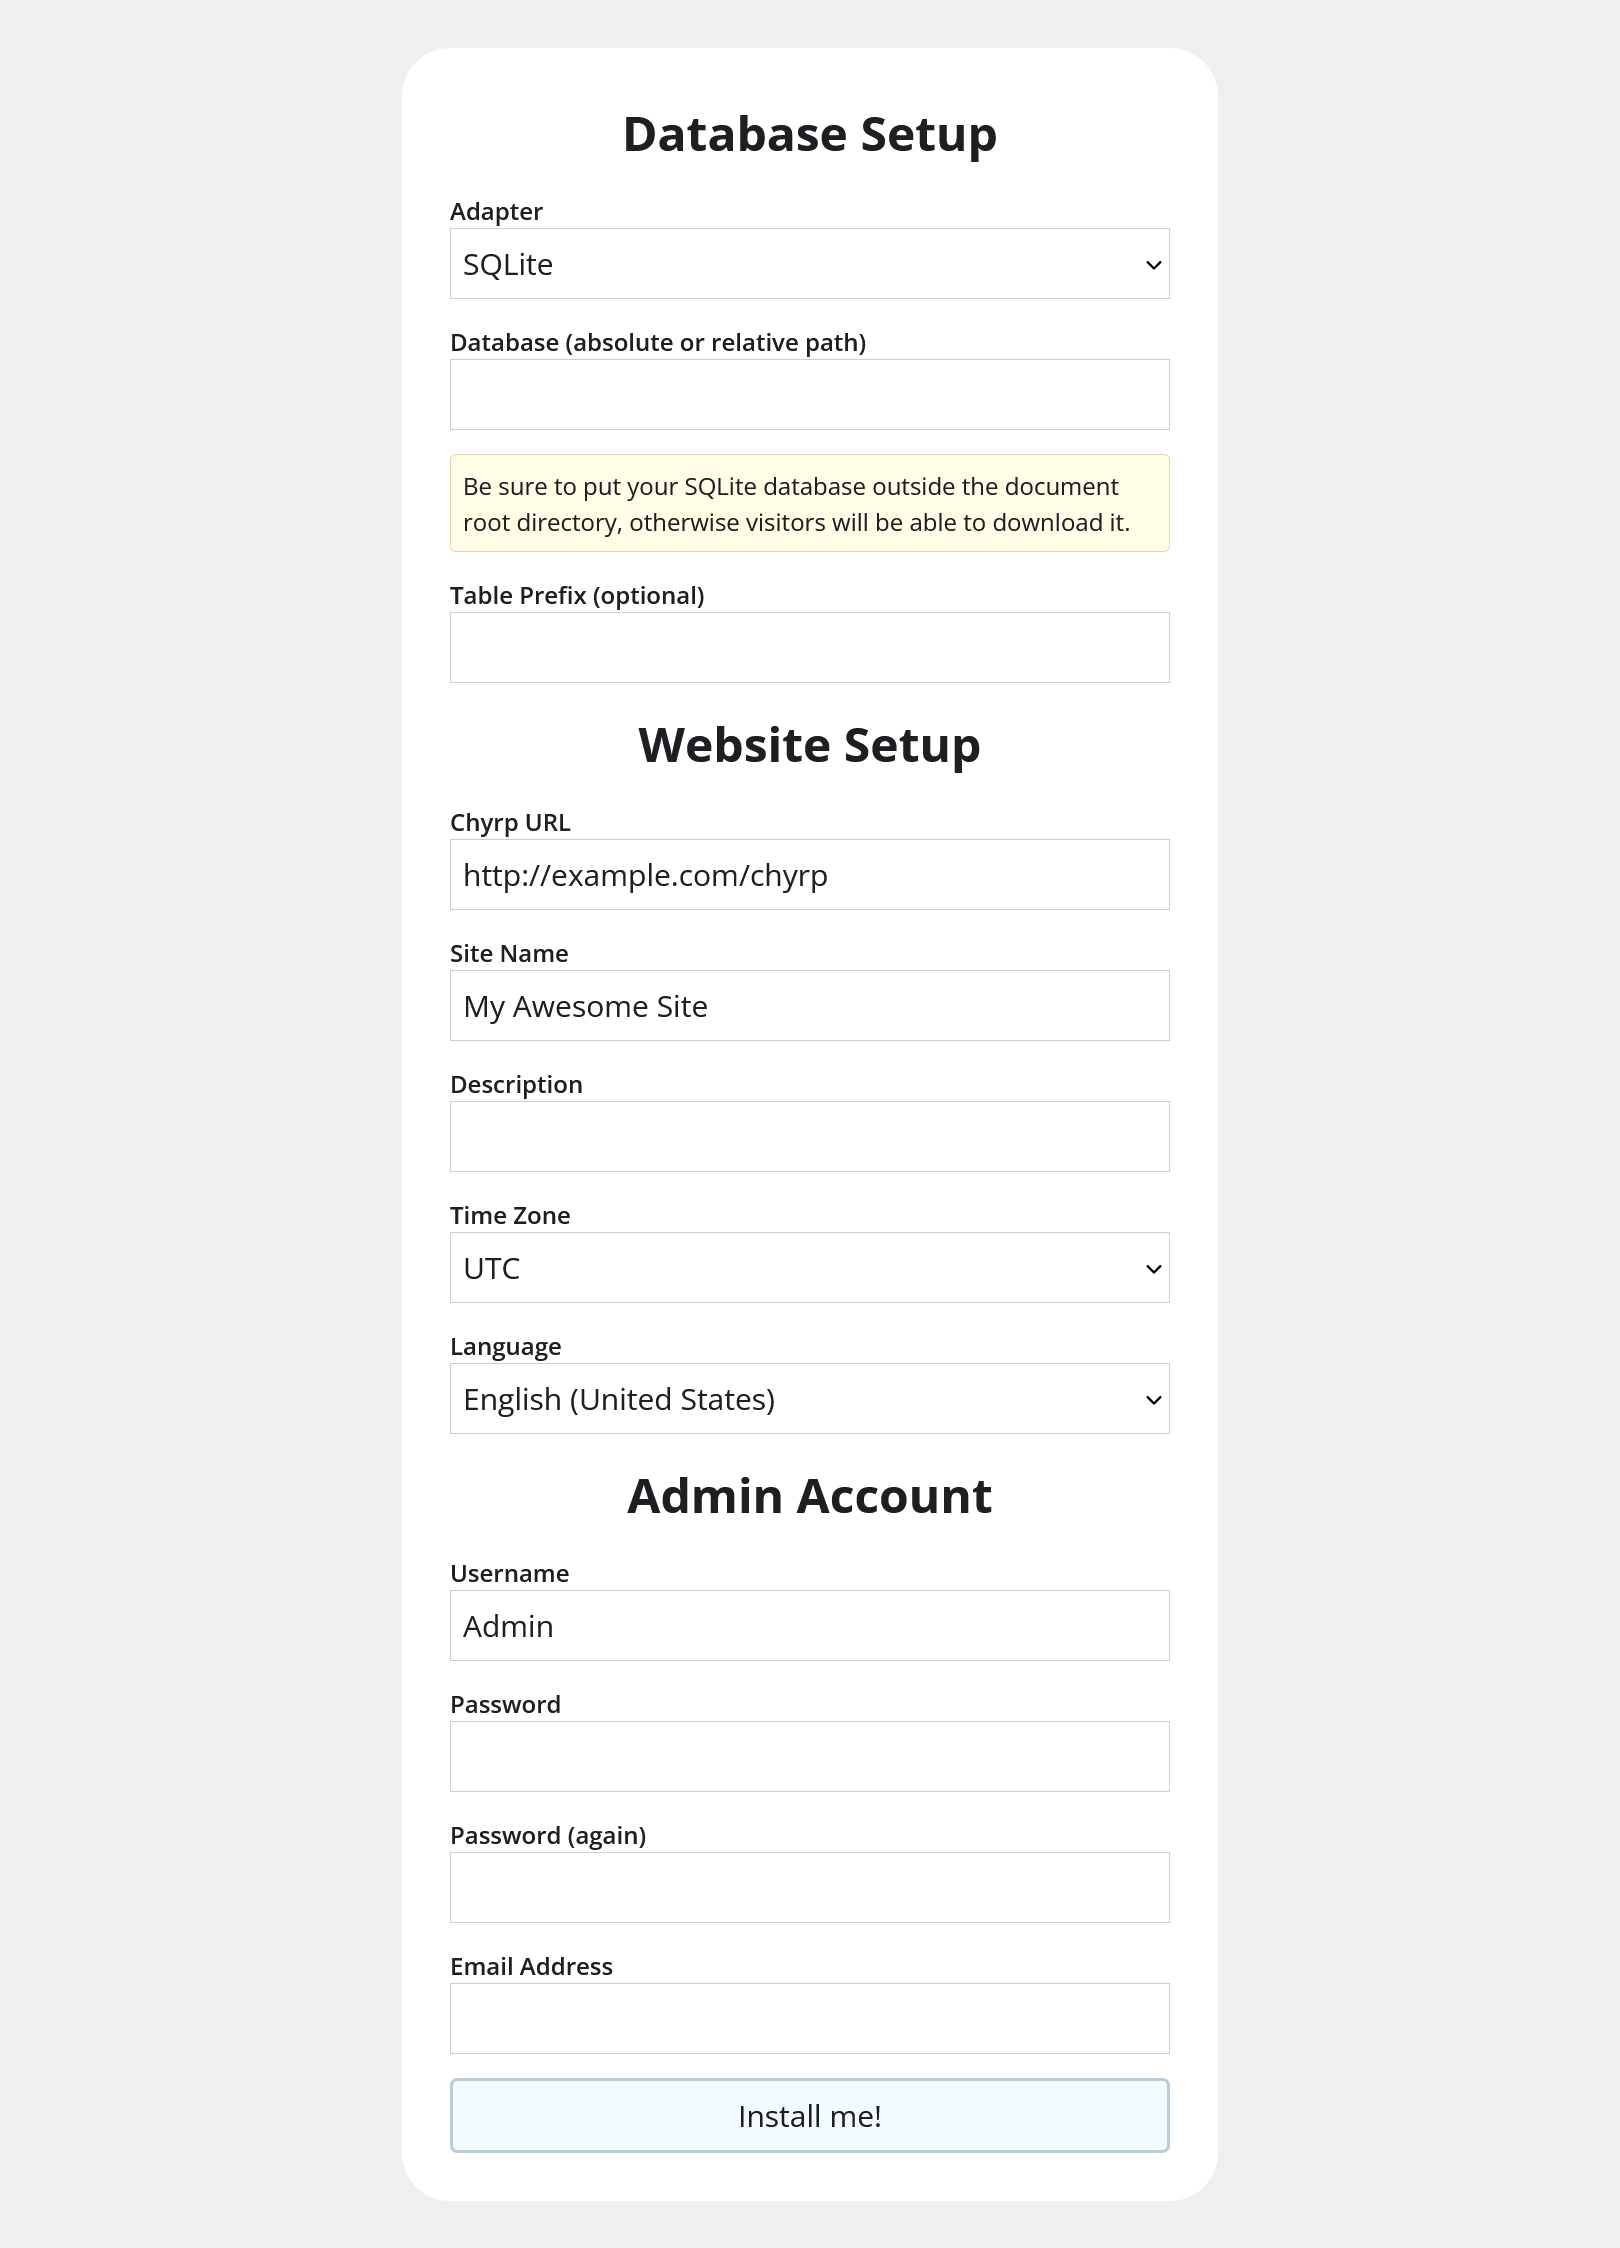
The Chyrp URL is the base URL for your site. The installer will attempt to guess and pre-fill the correct base URL using the server details and the path you are using to access it, but you can edit this. Make sure your site is actually accessible at the Chyrp URL you enter, or your installation will be broken.
If Chyrp Lite discovers problems that will prevent installation, they will be reported at the top of this page. For each problem, Chyrp Lite might suggest a remedy; perform the actions and then reload this web page in your browser until Chyrp Lite has no more complaints. For example, if you are asked to CHMOD a directory, this means you must adjust the permissions for that directory.
Now we have everything in place, it's time to install Chyrp Lite.
- Enter the information for your database.
- Enter a name and description for your blog.
- Tell Chyrp Lite what time zone it's in.
- Set up an administrative user account.
- Click Install me!
If all goes well, you have a blog! Next we'll visit your site and log in to the administration console.
Using Your Blog
Click the button Take me to my site! and your blog's index will load in the web browser. It's looking a little sparse right now. The default theme, Blossom, provides a sidebar on the page with a Log in option.
- Click the Log in hyperlink to be taken to a log-in page.
- Enter the admin username and password you set up on the install page.
- Click the Log in button.
You'll be taken back to the blog's index, but now things look a bit different: some new features have appeared on the page. In the sidebar you'll now find an Admin option.
The admin account is the first registered user of your blog, and has full access to make changes to the blog's content and settings. You can create additional user accounts later if you wish, and you can allow or disallow the option for visitors to register as well.
The Administration Console
Let's go to the admin console and take a look around. On the index page, you should see a hyperlink that appears only to admin users: Admin; click on this link to be taken to the admin console. The admin console is where you configure every aspect of your blog, and on arrival you'll be taken to the Write page where you can write a new blog post.
Write
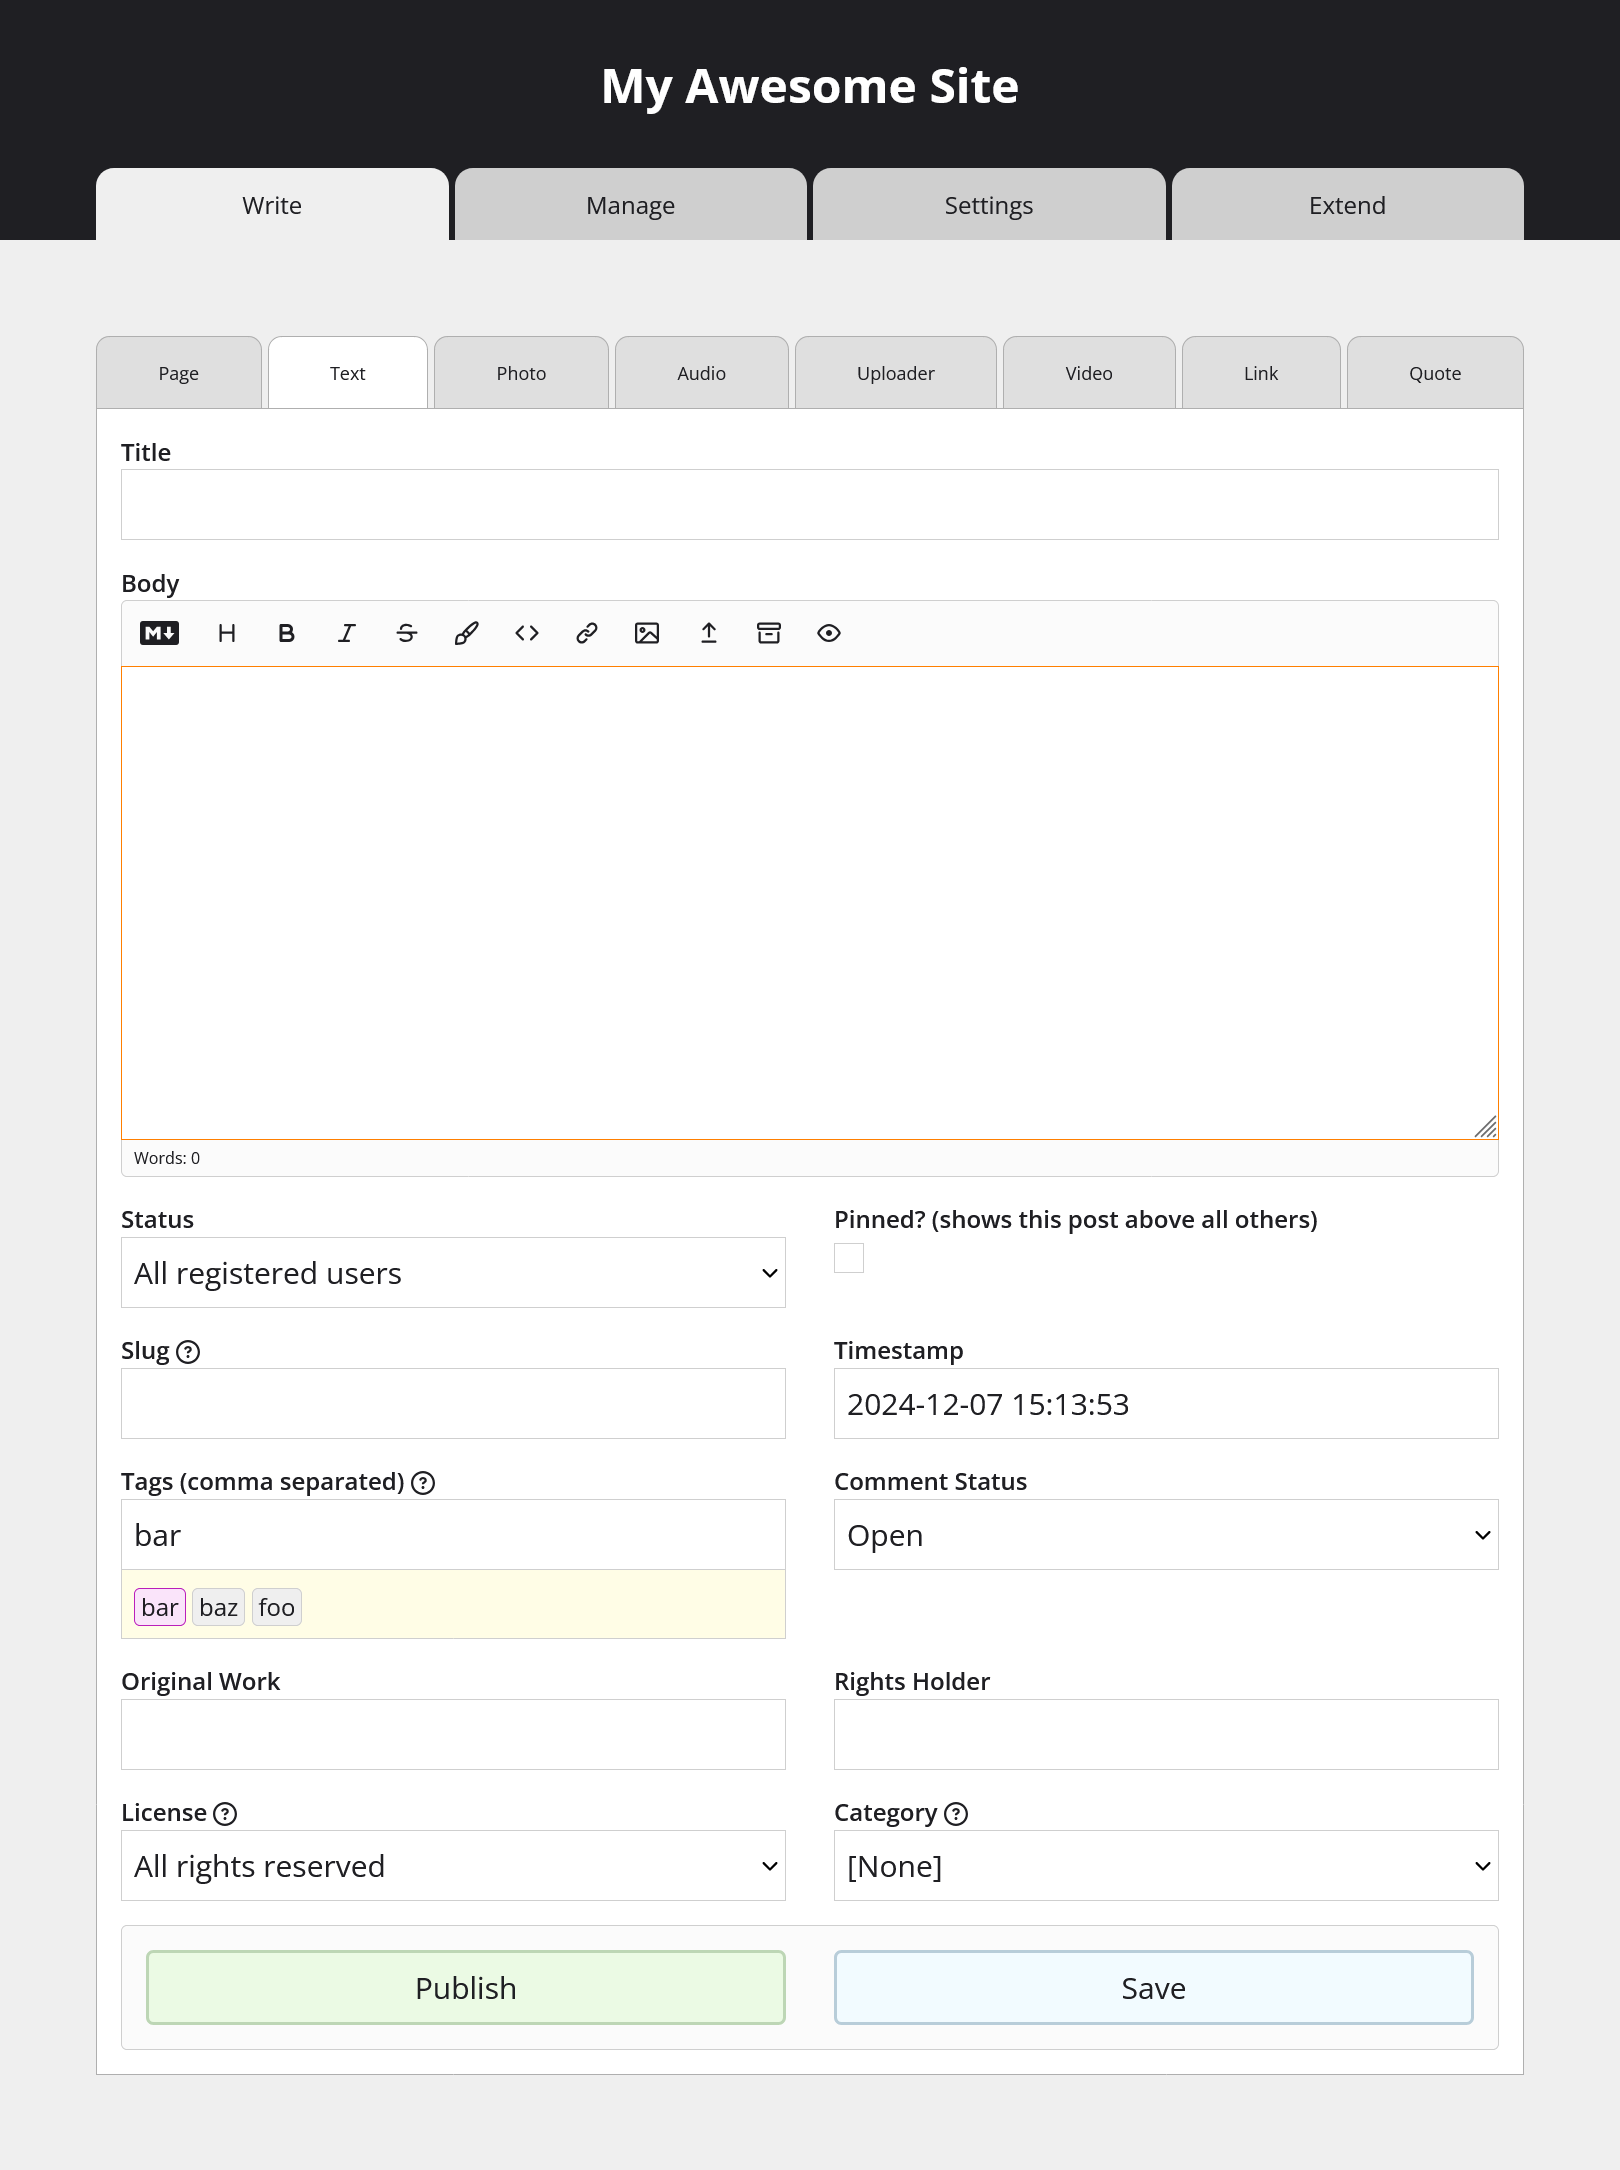
Since we're on the Write page, let's write a blog post.
- Give your blog post a Title, and write something witty in the Body text area.
- Click the Publish button to create and publish your blog post.
Extend
Let's return to the admin console and add some features to your blog. Visit the Extend page of the admin console. Chyrp Lite can be easily enhanced with four kinds of powerful extension: themes, modules, feathers, and translations. A bunch of modules and feathers are included with Chyrp Lite by default, and we'll enable two of these modules now.
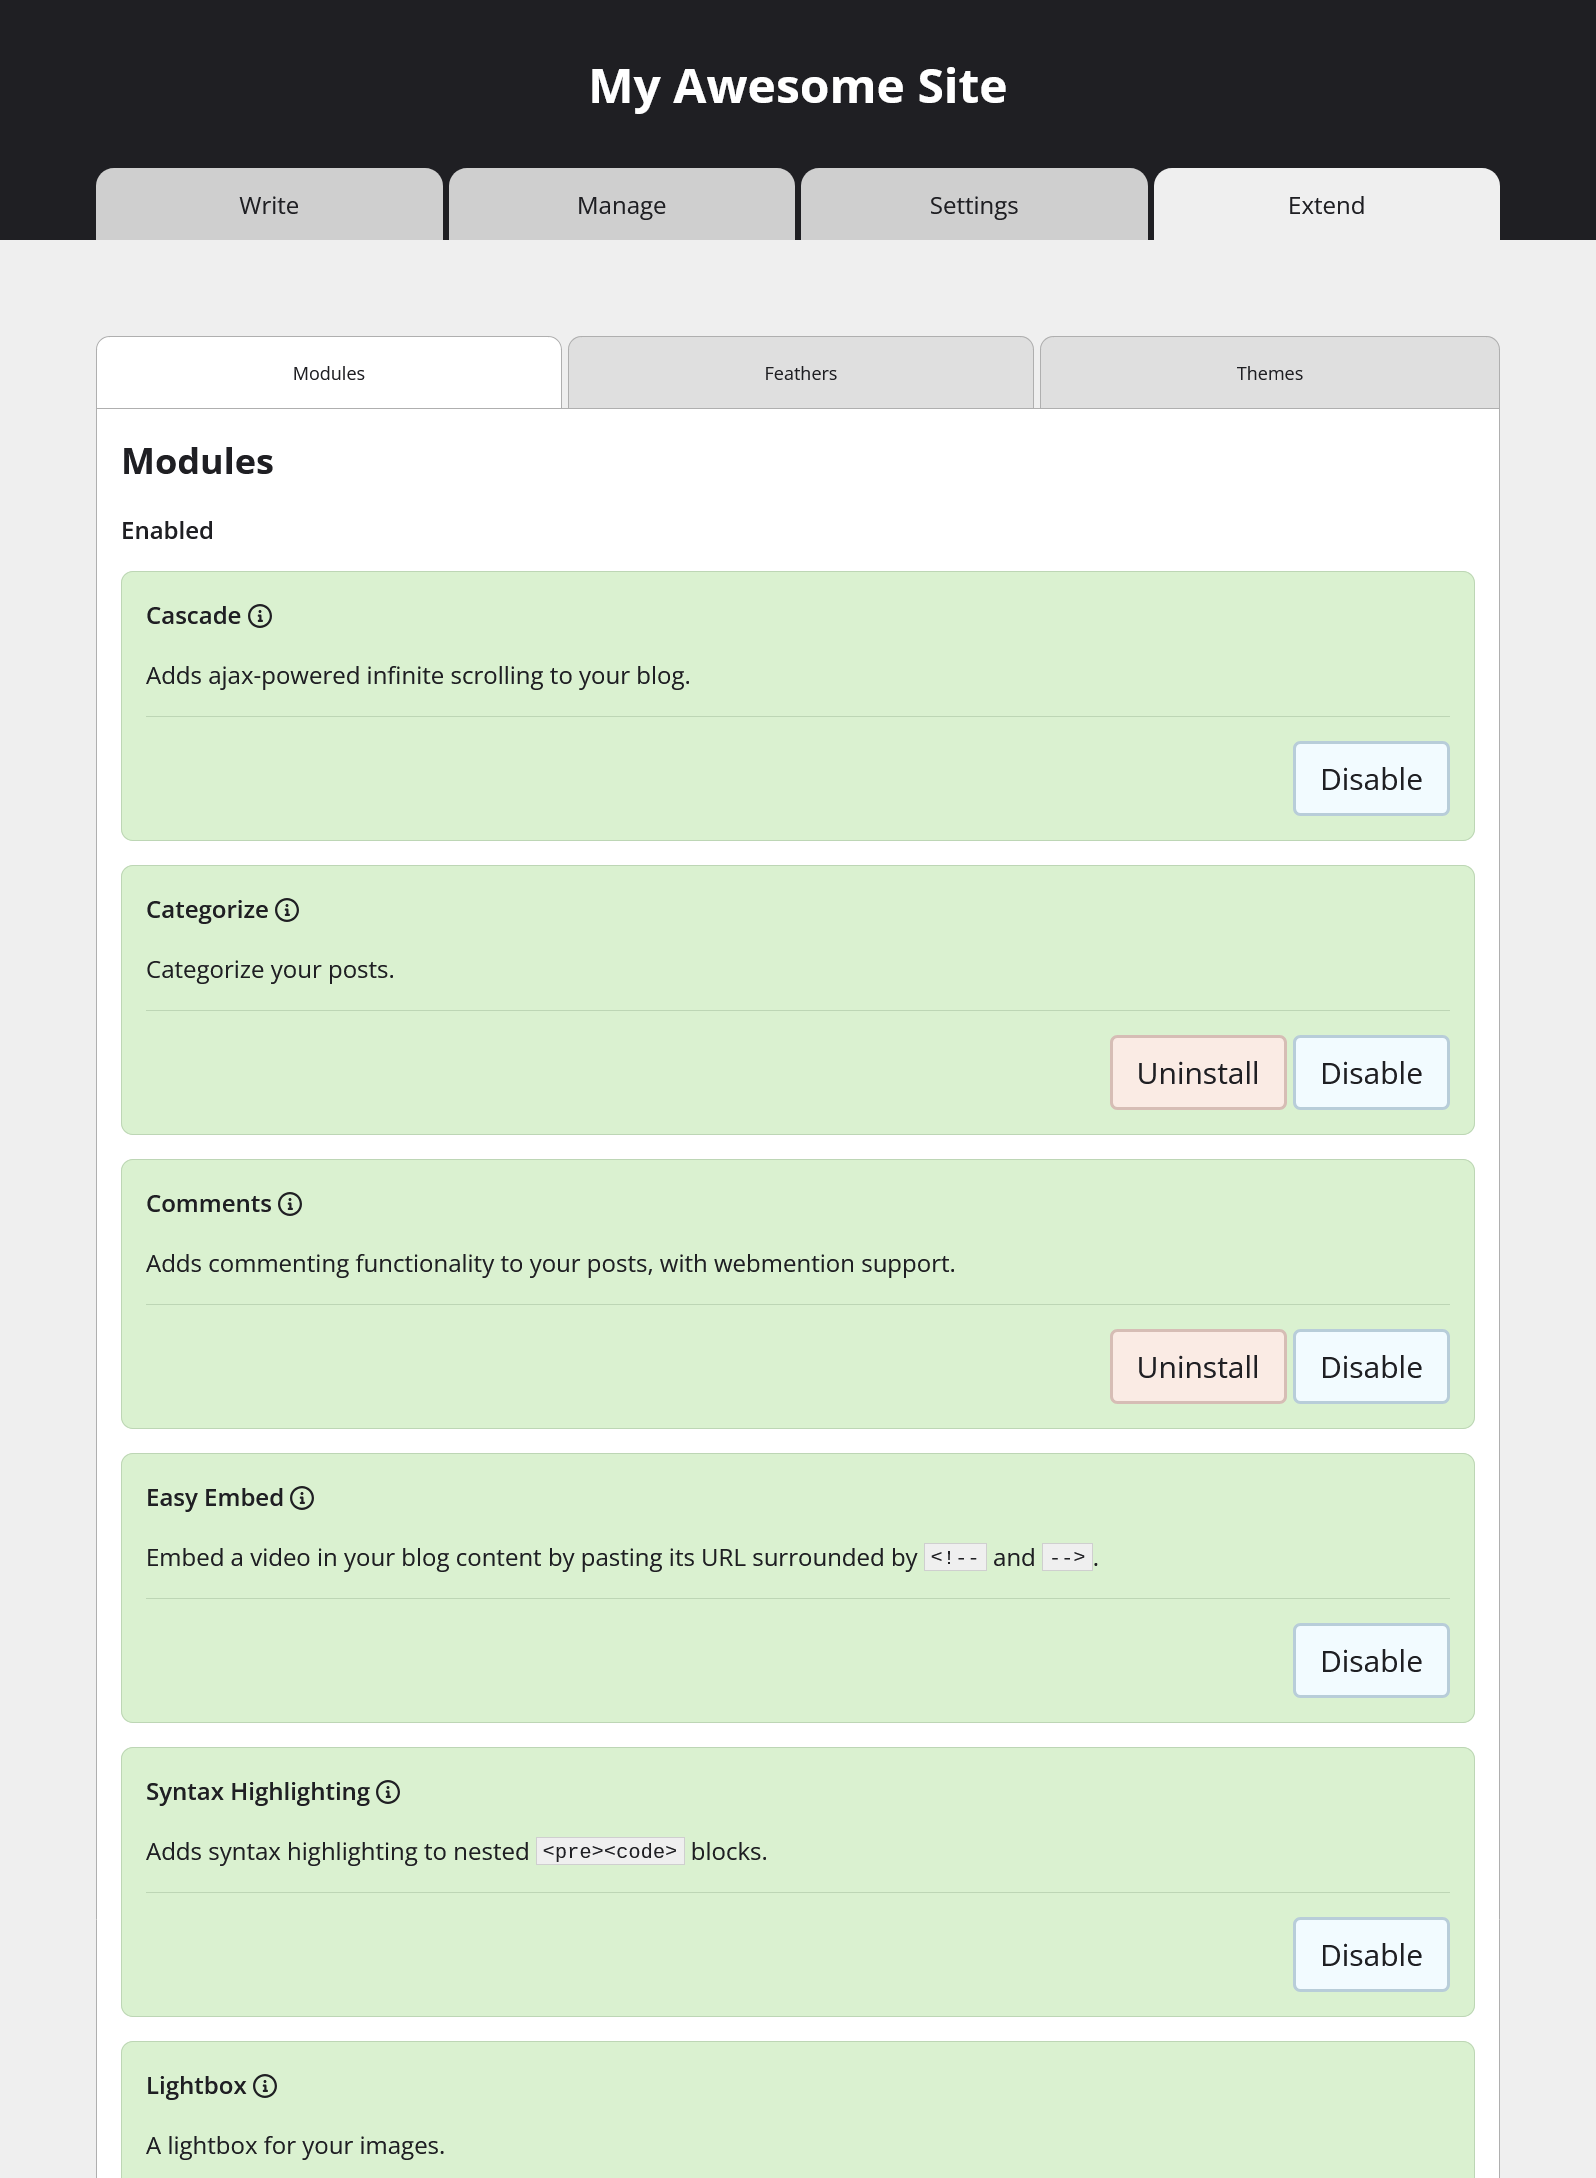
On the Extend page, ensure you are viewing the Modules tab. The page is divided into two areas: on the top is a list of the active modules and below it is a list of modules that are installed but not active. We will activate the Tagginator and the Cacher modules.
- Locate the Tagginator module in the list of disabled modules.
- Click the Enable button inside the Tagginator module to activate it.
- Perform the same operation with the Cacher module.
Well done, you've extended Chyrp Lite! That was easy, wasn't it? The Tagginator module makes it possible for you to tag your posts with keywords or terms. The Cacher module will tell your visitor's web browsers to store a local copy of pages viewed by your visitors, to speed up subsequent views and reduce the load on your web server.
If you switch to the Feathers tab you'll see a similar interface to the one we just used. Feathers enable Chyrp Lite to support different types of content in blog posts. If you enable some of these feathers and return to the Write page, you'll notice a tab has been added for each type of blog post made possible by your newly activated feathers.
Some enabled modules will add new pages to the admin console or add new permissions that you can configure for each of your user groups.
Explore
Start blogging and have fun! There are several more sections of the admin console we haven't explored. You should investigate them now to become familiar and confident working with Chyrp Lite and creating content for your blog.